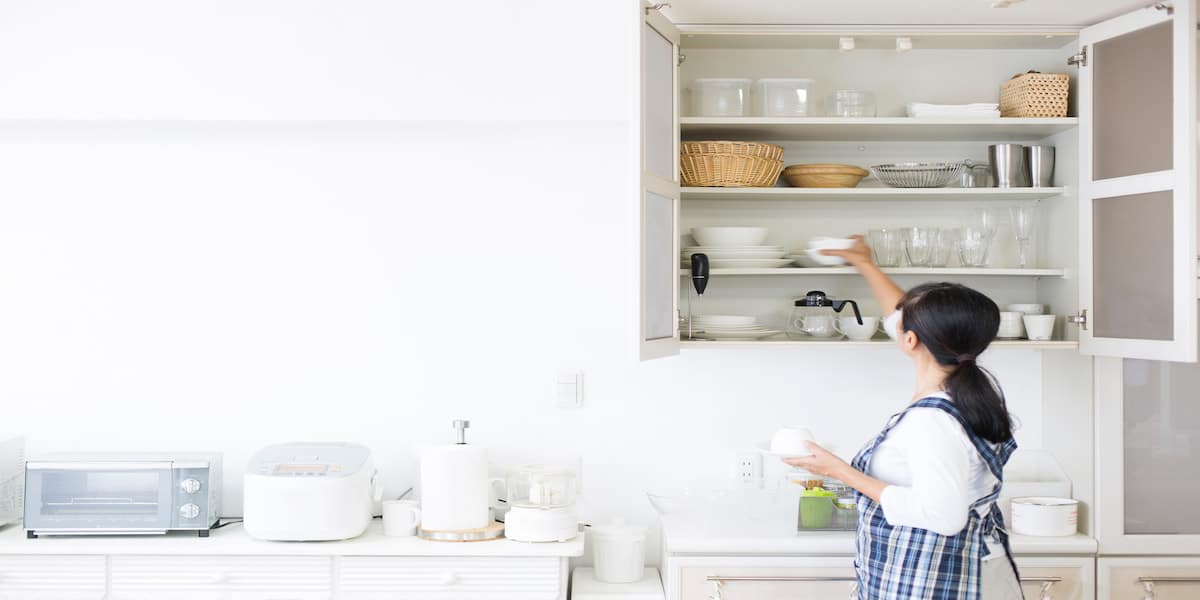
Organizing your kitchen cabinets can feel like a daunting task, but with the right plan, it can transform your cooking space into a more functional and enjoyable area. In this foolproof guide, we’ll walk you through 7 steps for organizing kitchen cabinets, providing practical tips to create a more efficient and visually appealing kitchen. Whether you’re tackling cluttered shelves or struggling to find space for your kitchen essentials, these steps will help you reclaim control. Plus, we’ll share some home organization hacks to elevate your space.
7 Steps to Transform Your Kitchen Cabinets into an Organized Haven
Step 1: Declutter and Categorize
Before diving into the reorganization, start by decluttering your cabinets thoroughly. Begin by removing everything from the shelves and grouping similar items together, such as dishes, glassware, cookware, and pantry items. Sorting by category will help you see what you own and make decisions about what to keep, discard, or donate. Don’t forget to check expiration dates on food products and toss out anything that’s past its prime.
Pro Tip: Use the “one-year rule” for items like gadgets or specialty cookware. If you haven’t used it in the past year, it’s time to let it go. Items that are duplicates or broken should also be addressed during this process.
Taking this initial step not only clears unnecessary clutter but also gives you a better sense of what you own and what you actually need, setting the stage for the next steps in 7 steps for organizing kitchen cabinets..
Step 2: Assign Zones Based on Functionality
Think about how you use your kitchen and assign specific zones for different activities. For example:
- Cooking Zone: Store pots, pans, and utensils near the stove.
- Prep Zone: Place cutting boards and knives close to your workspace.
- Serving Zone: Keep plates, bowls, and glassware within easy reach of the dining area.
By creating zones, you’ll reduce unnecessary movement and make your kitchen more efficient.
Step 3: Maximize Vertical Space
Many kitchen cabinets have unused vertical space that can be optimized with smart storage solutions. Add stackable shelves, risers, or tension rods to double your storage capacity.
Home Organization Hack: Install hooks or adhesive racks on the inside of cabinet doors to hang measuring spoons, lids, or small cutting boards. This trick not only saves space but also keeps frequently used items easily accessible.
Step 4: Invest in Organizers and Containers
Using clear containers, bins, and dividers can make a world of difference in maintaining an organized kitchen. These tools help to separate items and reduce visual clutter. Choose stackable or uniform-sized containers for pantry staples like flour, sugar, and pasta.
Label everything to avoid confusion and ensure your system stays intact over time. An organized kitchen isn’t just about appearances; it’s about functionality.
Step 5: Store Items by Frequency of Use
Place the items you use most often in the easiest-to-reach locations. For instance, everyday plates and glasses should be on lower shelves, while rarely used holiday dishes can go higher up.
Pro Tip: Consider pull-out shelves or lazy Susans for corner cabinets to make deep spaces more accessible.
Step 6: Tackle Under-Sink Storage
The area under the sink is often overlooked but can be incredibly functional with the right organization. Use stackable drawers, caddies, or adjustable shelves to make the most of this space.
Home Organization Hack: Install a tension rod under the sink to hang spray bottles, freeing up space for cleaning supplies below.
Step 7: Maintain Your System
The final step in 7 steps for organizing kitchen cabinets is creating a maintenance plan. Regularly evaluate your cabinets to ensure items are in their designated spots and make adjustments as needed. Consider a quarterly check to declutter and reorganize.
Pro Tip: Set aside 10 minutes every week to tidy up your cabinets. Small, consistent efforts can prevent clutter from taking over.
Bonus: Garage Tool Organization Ideas
While organizing your kitchen cabinets, don’t forget to extend this newfound order to other areas of your home, such as the garage. If cluttered tools are causing chaos, here are some expanded garage tool organization ideas to consider:
- Utilize Pegboards: Pegboards are a versatile solution for hanging tools vertically, keeping them visible and accessible. Customize the layout to suit your needs with hooks, baskets, and shelves.
- Sort and Label: Group tools by category, such as gardening, automotive, or general repair, and store them in labeled bins or drawers for easy retrieval.
- Install Magnetic Strips: Magnetic strips are perfect for securely holding metal tools like screwdrivers and wrenches, freeing up drawer space.
- Wall-Mounted Shelves: Maximize floor space by adding wall-mounted shelves or cabinets to store larger items like power tools and toolboxes.
- Portable Carts: For tools you use frequently, invest in a portable cart with multiple compartments to keep everything mobile and organized.
By implementing these strategies, you’ll not only transform your garage but also create a cohesive, stress-free organization system that complements your newly optimized kitchen.
Conclusion
Transforming your kitchen with these 7 steps for organizing kitchen cabinets can elevate your space from chaotic to harmonious. By decluttering, assigning zones, and incorporating smart storage solutions and home organization hacks, you’ll enjoy a kitchen that’s not only functional but also a joy to use.
Ready to take your organization to the next level? Contact Palm Beach Organized to learn more about our professional services. From tailored solutions to expert advice, we’re here to help you achieve the organized home of your dreams.


